MY PROJECTS
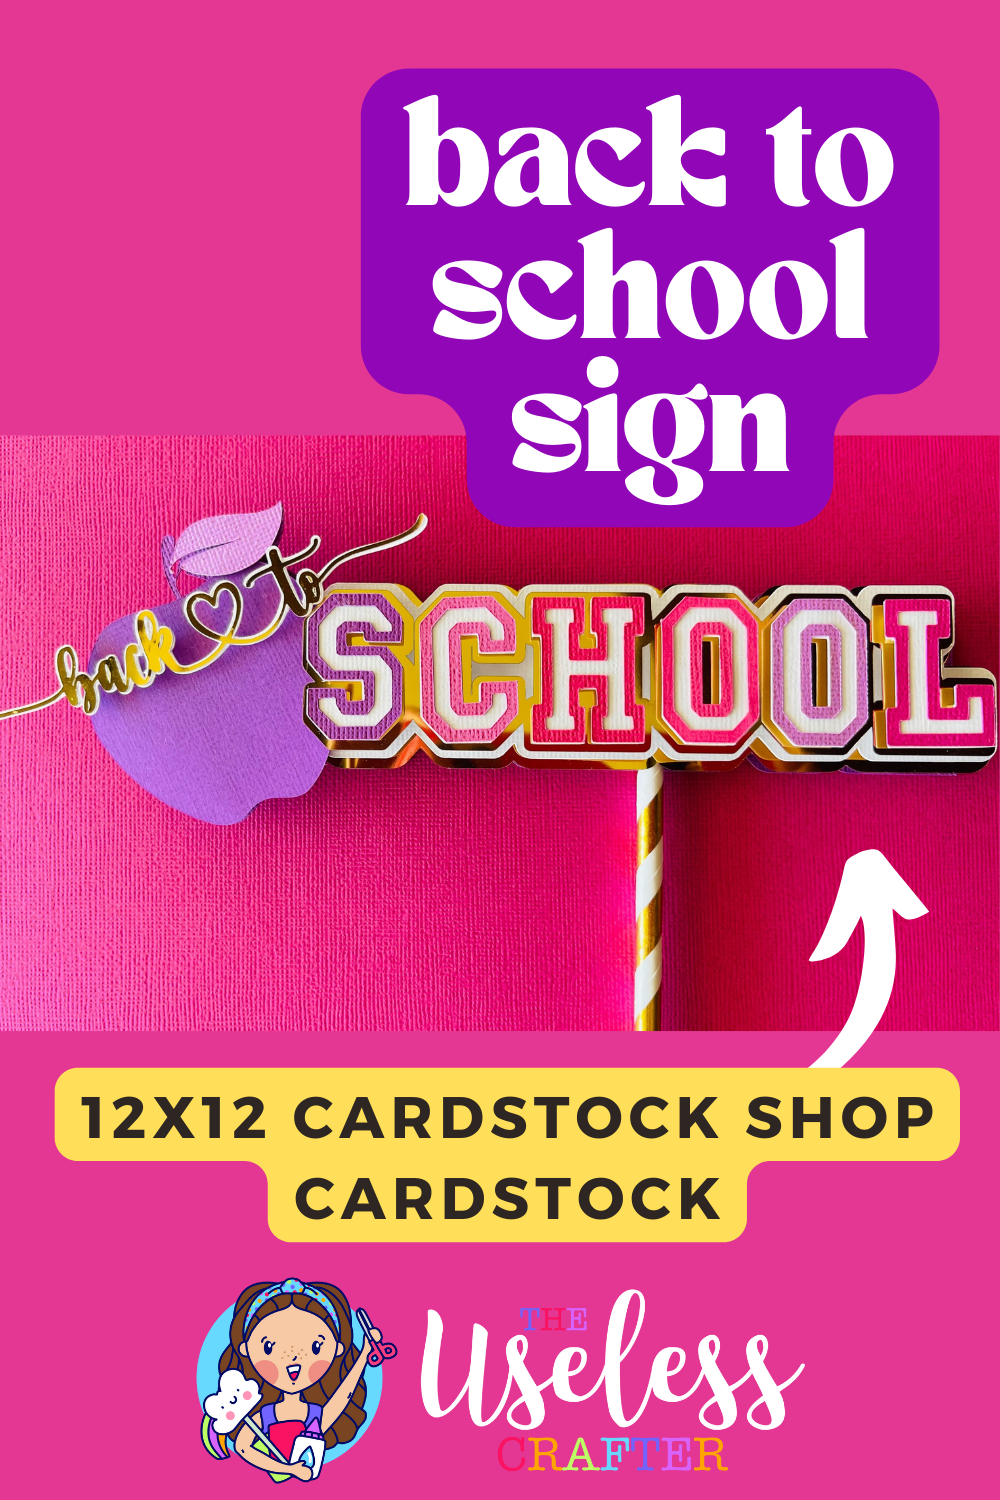
BACK TO SCHOOL SIGN WITH 12X12 CARDSTOCK SHOP
In this video I will show you how to make a Back to School sign with 12x12 Cardstock Shop!
EASTER CAKE TOPPER USING ACETATE
This time I will show you how to make this simple but sweet Easter cake topper using mostly acetate. I will give you all my tips and tricks on how to work with all the delicate pieces.
The Cricut Design Space project link is ready to cut so you can craft-a-long with me!
SWEET CHRISTMAS WREATH
I am absolutely in love with this project!!! The wreath is from @papermintdecor and her original is the last picture. It was all over my Pinterest feed and I knew I had to make it.
It’s actually a very simple (and cheap) project to do. You’ll need a floral wreath from @dollartree, streamers, and cardstock. That’s it! Shocking, right? And it’s soooo worth it. I LOVE this project. All the details … all the colors … just 😍😍😍.
Make sure to use @bearlyarts glue for the perfect cardstock glue. The nutcrackers are 2 inches and 4 inches, and the lollipops are 2 inches. The font is from @creativefabrica is Bella rose (very reminiscent of I love glitter).
OFF THE MAT: BELLE FROM BEAUTY AND THE BEAST
I truly love this piece - mostly htv (just not the skin and the black). And I used streamers for the back for a cleaner look.
Her lips look more like lipstick (as opposed to cardstock) and with htv I was able to use two different beautiful browns for her eyes and hair.
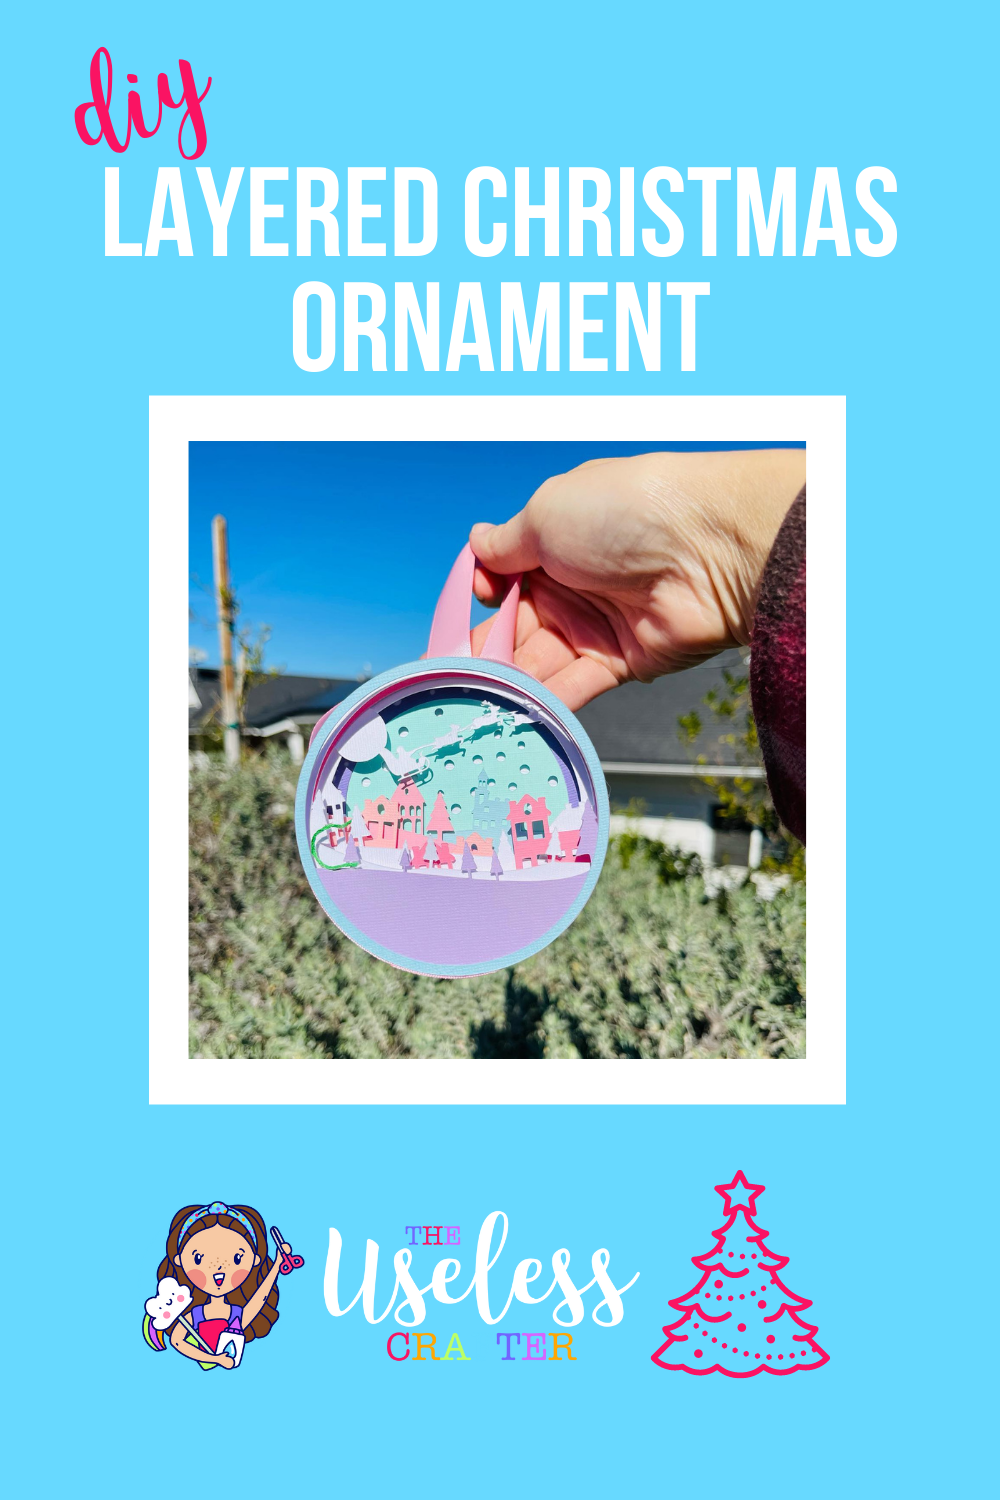
DIY LAYERED CARDSTOCK CHRISTMAS ORNAMENT
This adorable layered cardstock ornament was a breeze to make but looks SO good when its done!
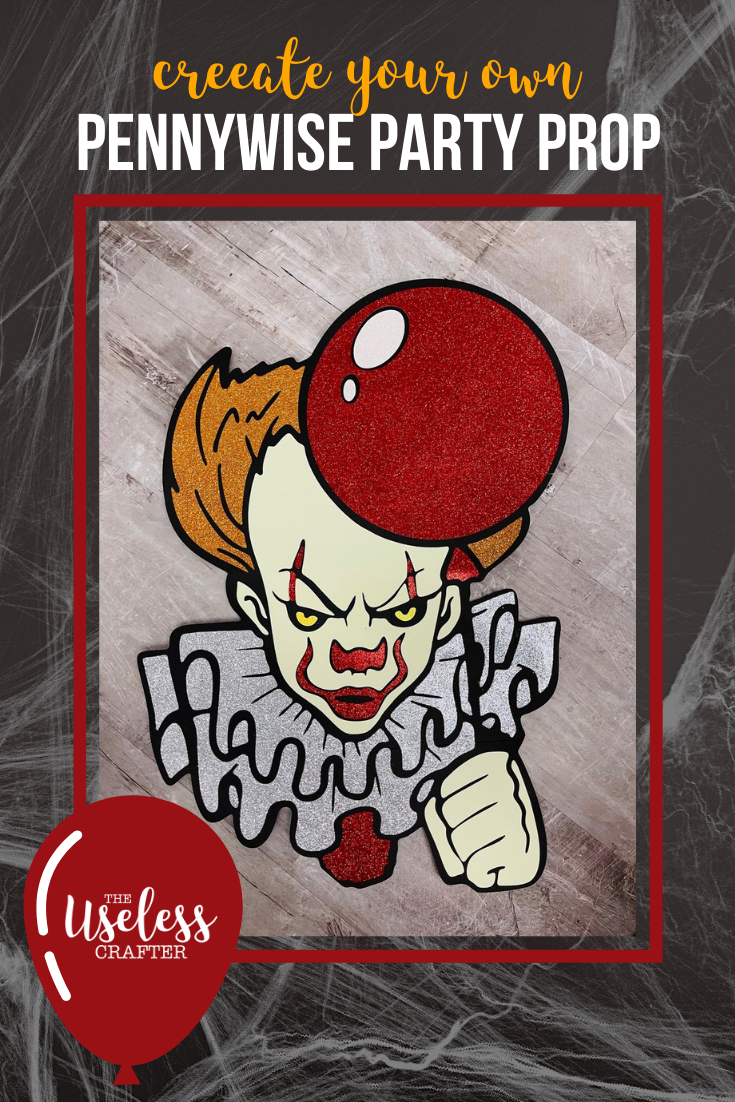
OFF THE MAT: PENNYWISE - IT
Love love love how this turned out!!! Mixing a little luminous htv with my usual glitter cardstock for this craziness 🤡🤡😱just perfection 💛💛💛
26 inches and he glows in the dark! I used the luminous htv (heat transfer vinyl from Poli-Tape) on cardstock to get a super scary effect. In love!!
Tips:
1. I like to weld pieces together to make it easier to piece together and have fewer pieces to keep track of. For example check out the collar. I added little circles to connect pieces.
2. I struggled with the htv a bit because I didn’t apply enough pressure and heat. Next time it’ll be better. But I absolutely loved the results.
CARDSTOCK 3D GLOBE MANDALA
Just my favorite mandala project - 16 layers including one of htv (cause you know I had to). Separated with foam tape when there was room, and when the layers were too thin and delicate, Bearly Art Glue glue for the win. The cardstock is just to die for from 12x12 Cardstock. So many shades of blue and green 💙💚💙💚💙💚💙.
3D LETTER AND NUMBER SHAKERS - TUTORIAL COLLECTION (DESIGN SPACE, ASSEMBLY, RESIZING & EMBELLISHING!)
3D letters. I have been perfecting these over time and have made several versions. In this post I share all of my Design Space tutorials on setting these 3D letters and numbers up and resizing them as well as assembly.
Check out my other project posts for some specific numbers & letters I have created for parties/events/milestones.
Tips:
1️⃣- cut the dashed lines so that it’s easier to fold (as opposed to just debossing).
2️⃣- I still go back and forth on this ... but 110# paper is slightly easier to handle ... however you run the chance of the paper not cutting cleanly. And it dulls your blade faster (although good thing we can buy them super cheap on amazon haha).


