MY PROJECTS
HOW TO MAKE PRINT THEN CUT STICKERS WITH AN EASY PEEL BACKGROUND
Check out my start-to-finish tutorial on how to make print then cut stickers with an easy peel (aka "kiss cut") border! 😍
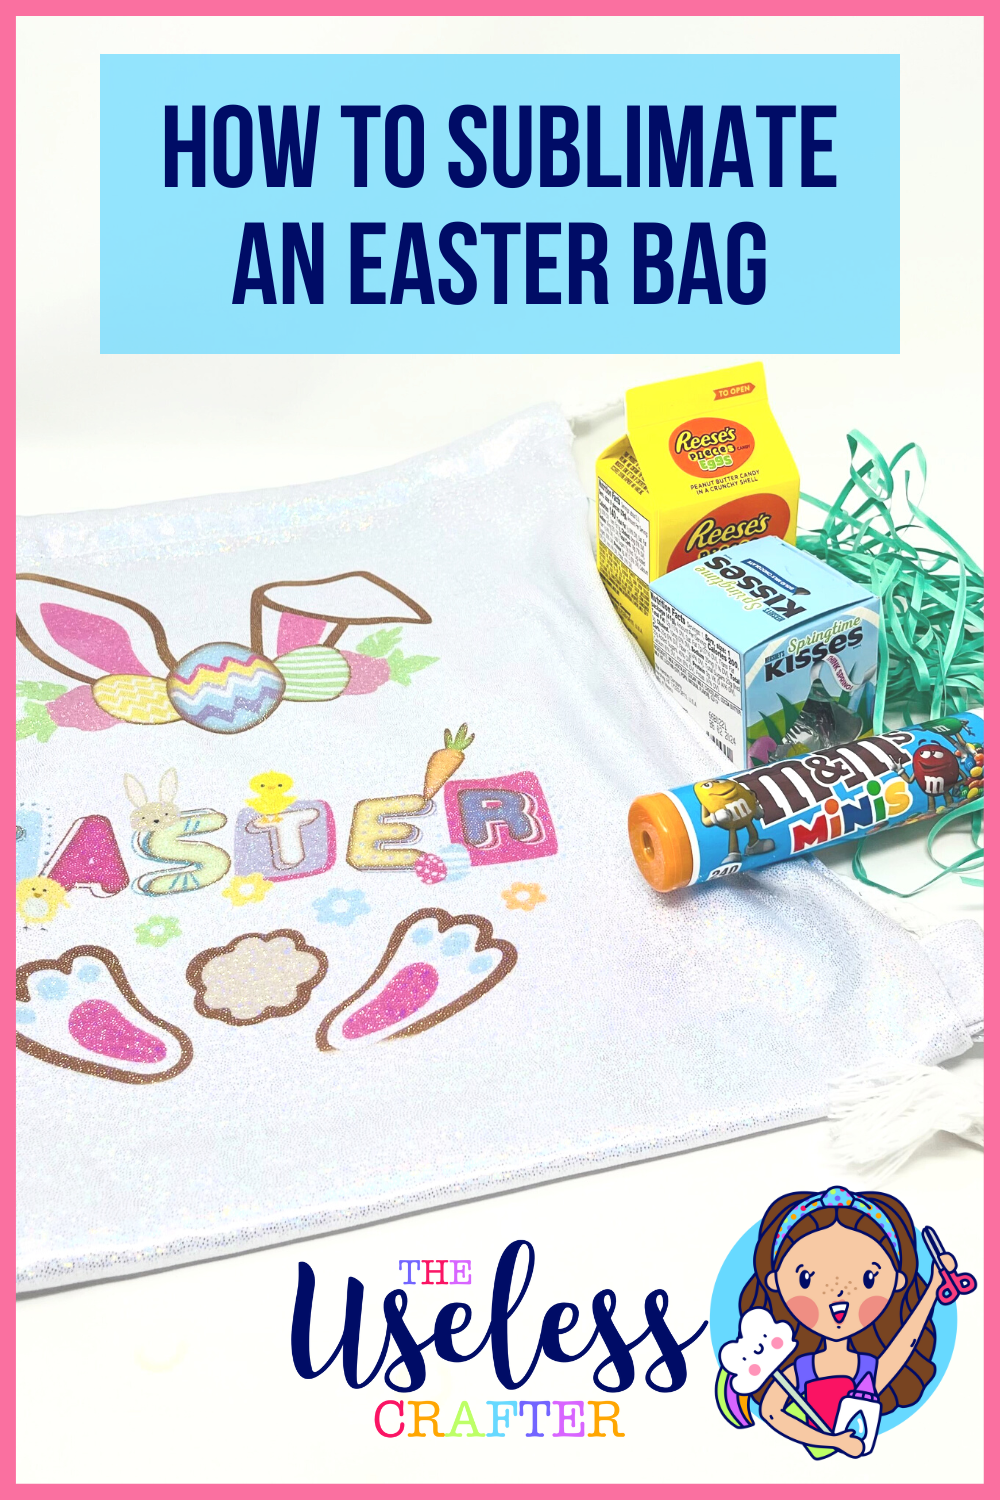
easter bag - sublimation
This time I will show you to use sublimation to create this cute bag for an Easter egg hunt.Materials Used:Sublimation PaperEpson EcoTank PrinterSublimation Ink
EASTER CAKE TOPPER USING ACETATE
This time I will show you how to make this simple but sweet Easter cake topper using mostly acetate. I will give you all my tips and tricks on how to work with all the delicate pieces.
The Cricut Design Space project link is ready to cut so you can craft-a-long with me!
SUBLIMATION SEQUIN MAKE UP BAG
This personalized makeup bag …. In love 😍😍😍. There’s so much going on just to show you that it can be done with a sublimation printer (XOXO Craft Girls was a print on the @sawgrassink ) AND/OR with @artesprix fun sublimation ink pads with stamps and markers. Of course you need a heat press @craftexpressus to finish it all off.
Gift topper using die cutting
I’m determined to be a better die cut crafter … so here I am practicing. Using my two favorites - @scrapdiva.29 die cuts and @bearlyarts glue. This will be a present topper as soon as Amazon delivers the birthday present 😂😆.
DIY PERSONALIZED S’MORES KIT
How stinkin’ cute is this personalized s’mores kit?? I got the kit from Target and added some adhesive vinyl and voila! This would make a great housewarming gift or hostess gift for a summer BBQ!
DIY BIRTHDAY BANNER GIFT TOPPER
If you haven’t figured it out by now… I love to go super extra on wrapped gifts!!! So this is a mini banner looped through the ribbon on top of this present. I absolutely love love love this present. I have to admit that I went with six over Dylan cause it was going to be two extra letters … and it was going to be too small … and yeah lol.
DIY BACK TO SCHOOL PENCIL POUCH
Getting my daughter ready to go back into school and I want to make sure all her stuff is super cute (but also unique so no one takes her stuff). This sturdy pouch comes from Amazon (link in my bio) and holds a lot of things. I added the message "Be Kind" to remind her and everyone around her that everyone needs to have a good time at school and everyone needs a friend. 🌈
Poli-Tape's Poli Flex Turbo HTV is really thin which means you can can layer many layers on top of each other. Remember to use a Teflon sheet when pressing each layer to protect the first layers. The words "Be Kind" are in Star Flex "rainbow".
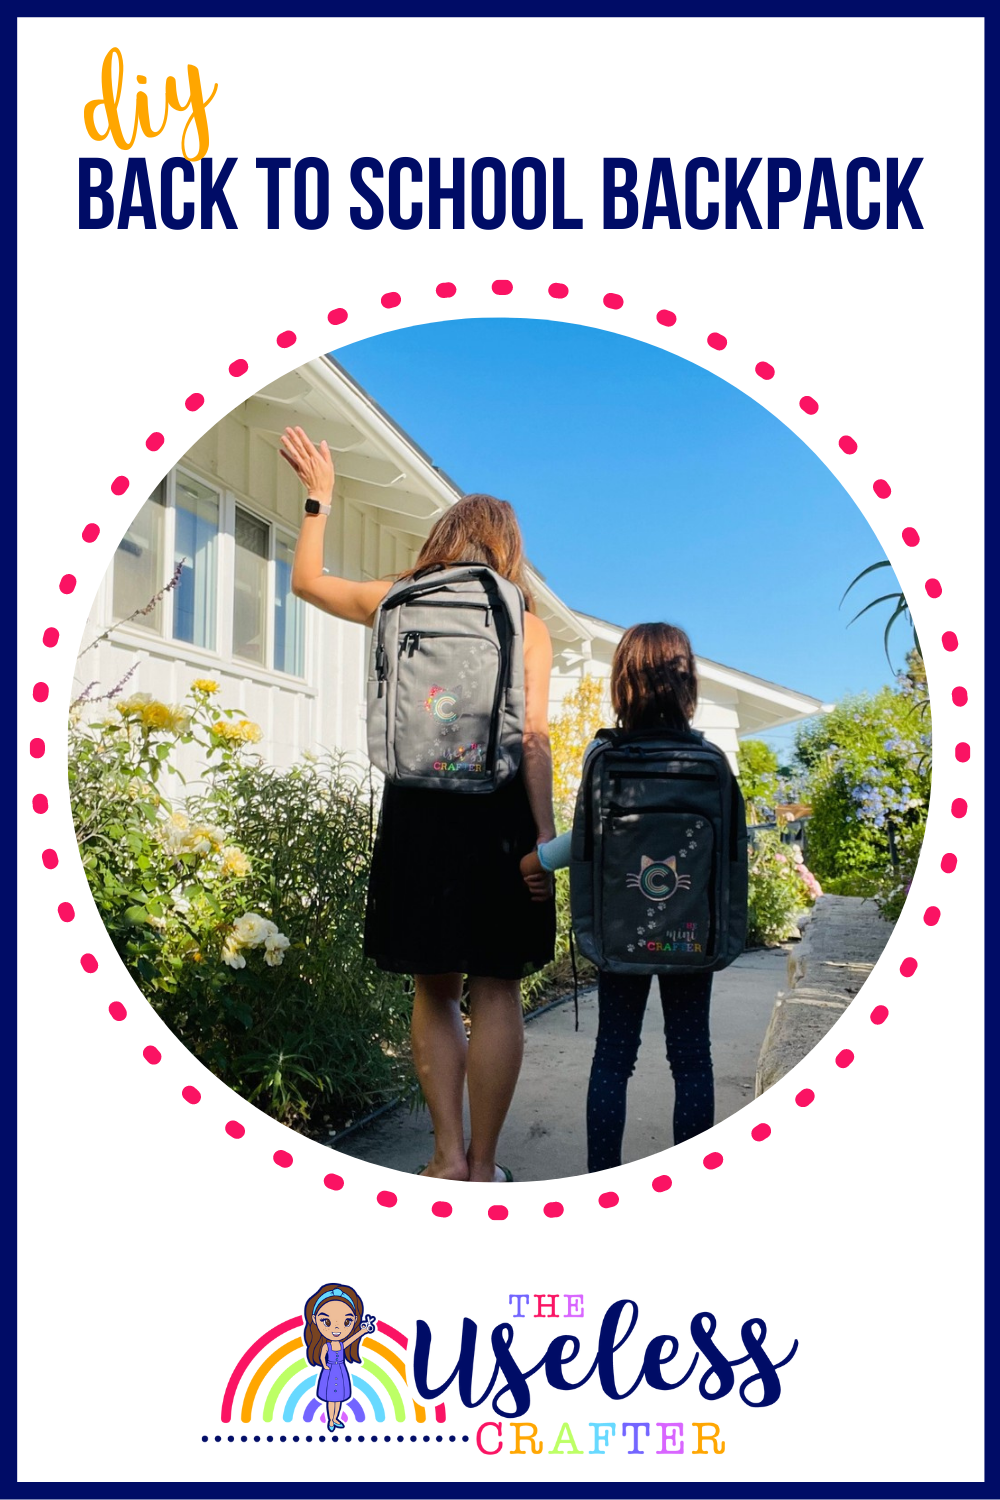
DIY BACK TO SCHOOL BACKPACK
Reflective HTV from Poli-Tape on a backpack! The paw prints… just in love … look at how it glows when light hits it at night. Not that my daughter is allowed anywhere at night lol … but you’re going to see us if we are walking on the street. 😁😁😁.Then after I went back and added so much more HTV. It’s crazy to think how much heat this backpack got. But it’s the htv from Poli-tape that allows for low heat and low press times
DIY BACK TO SCHOOL THERMOS
A perfectly layered thermos lol. You have to celebrate these wins!!!
I am really a big fan of using the registration marks in addition with covering up the majority of the design when you’re putting it down. It really makes it so much easier when you have a small exposed sticky section to maneuver around to line up. I promise it’s worth the extra steps!!!
AND let it cure!!!! This applies to both HTV and adhesive vinyl projects. Let it sit for a day or two before you wash. Personally my thermos projects for my 6 yr old sits for a week. We need all the help we can get. Lol. And they do last 🙌🏻🙌🏻🙌🏻.
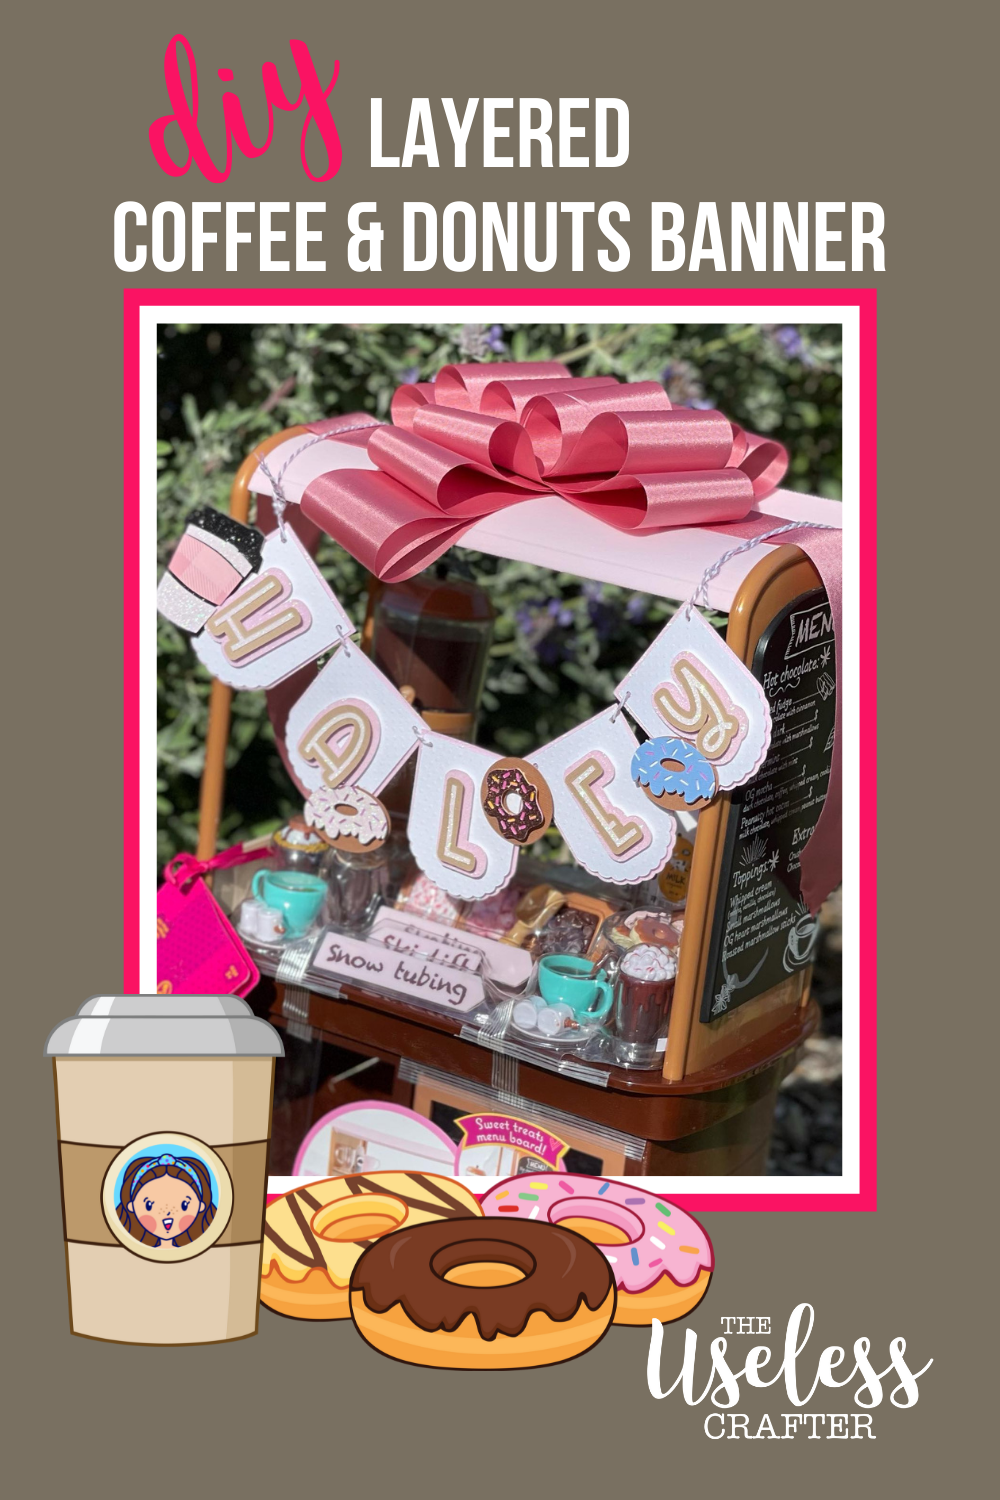
COFFEE AND DONUT SHOP BIRTHDAY BANNER
I absolutely loved this little gift!!! I know it’s April and snow tubing and hot chocolate are out, but it was too cute not to post.
Cardstock is from @12x12cardstock and I used @bearlyarts glue and foam tape (the layers makes all the difference).
The best compliment came from the sister of the birthday girl .... you give the best gifts . What do you think? Will this be a trend? I know ... it’s so over the top.
BUTTERFLY SHADOWBOX FRAME
Butterflies!
I think the graduation cap was the first time I did a paper butterfly! I love the layers and the 3D feel. Super low maintenance project with maximum results 🦋🦋🦋.
Tips:
1️⃣ use a glue gun to prop open the butterfly wings. It’ll dry hard and your wings are open and will stay open 🙌🏻👍🏻.
2️⃣ pick a few butterfly images (like 3) and change up sizes and combo of colors to create a varied yet cohesive theme.


