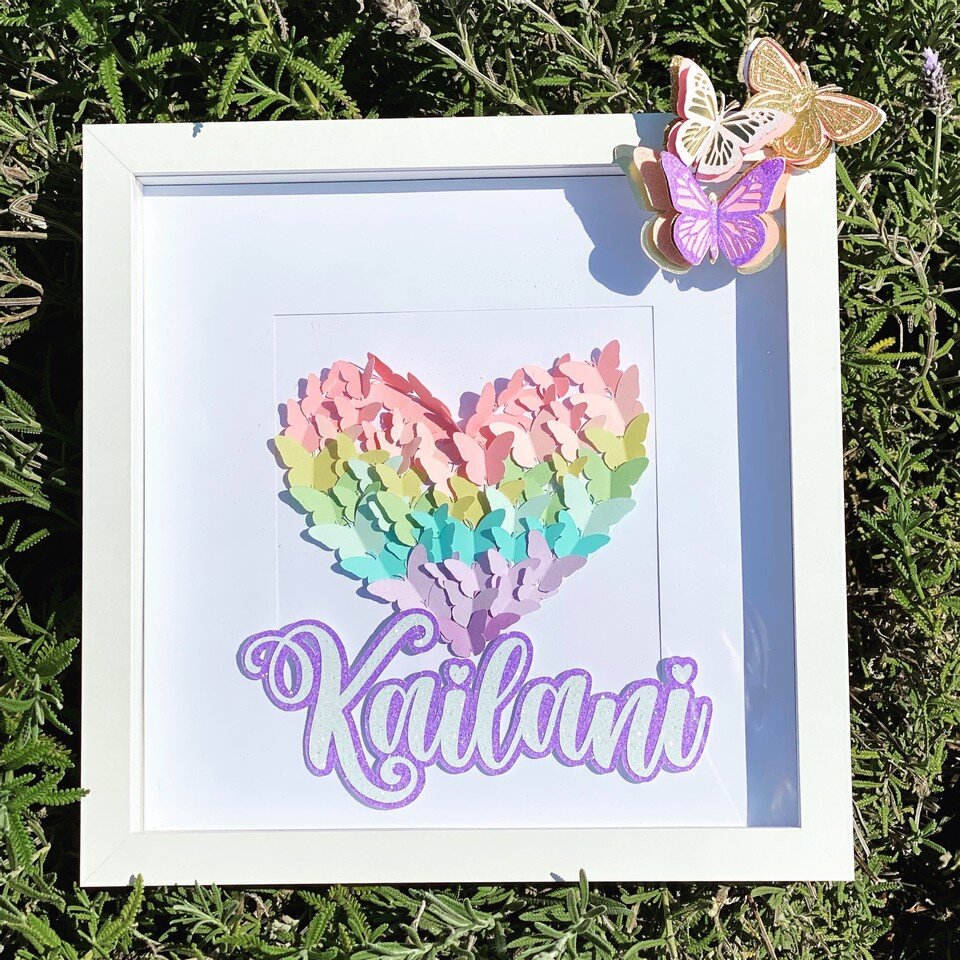
BUTTERFLY SHADOWBOX FRAME
This post contains affiliate links. I would never recommend anything I don’t personally use and love. Shopping my affiliate links is a great way to support The Useless Crafter. Thank you! ❤️
Butterflies!
I think the graduation cap was the first time I did a paper butterfly! I love the layers and the 3D feel. Super low maintenance project with maximum results 🦋🦋🦋.
Tips:
1️⃣ use a glue gun to prop open the butterfly wings. It’ll dry hard and your wings are open and will stay open 🙌🏻👍🏻.
2️⃣ pick a few butterfly images (like 3) and change up sizes and combo of colors to create a varied yet cohesive theme.
Tools and Supplies used:
Cricut Maker & Cricut Design Space
Cardstock from 12x12 Cardstock
Bearly Art Glue
Shadow Box Frame
Related projects:
In this video I will show you how to se the project up in Design Space.
In this video I will show you how to assemble the project.


