MY PROJECTS
DIY BACK TO SCHOOL PENCIL POUCH
Getting my daughter ready to go back into school and I want to make sure all her stuff is super cute (but also unique so no one takes her stuff). This sturdy pouch comes from Amazon (link in my bio) and holds a lot of things. I added the message "Be Kind" to remind her and everyone around her that everyone needs to have a good time at school and everyone needs a friend. 🌈
Poli-Tape's Poli Flex Turbo HTV is really thin which means you can can layer many layers on top of each other. Remember to use a Teflon sheet when pressing each layer to protect the first layers. The words "Be Kind" are in Star Flex "rainbow".
DIY CHEER BOW
So easy to get a plain bow to a cheer bow!
Materials:
📣 Bows
📣Turbo HTV - only requires 3-5 second press!!! And can handle the thin cuts (look at the swirls!).
📣 Pearl Glitter HTV - for that spark!!!
📣 Rhinestones for the extra ness 😂😆.
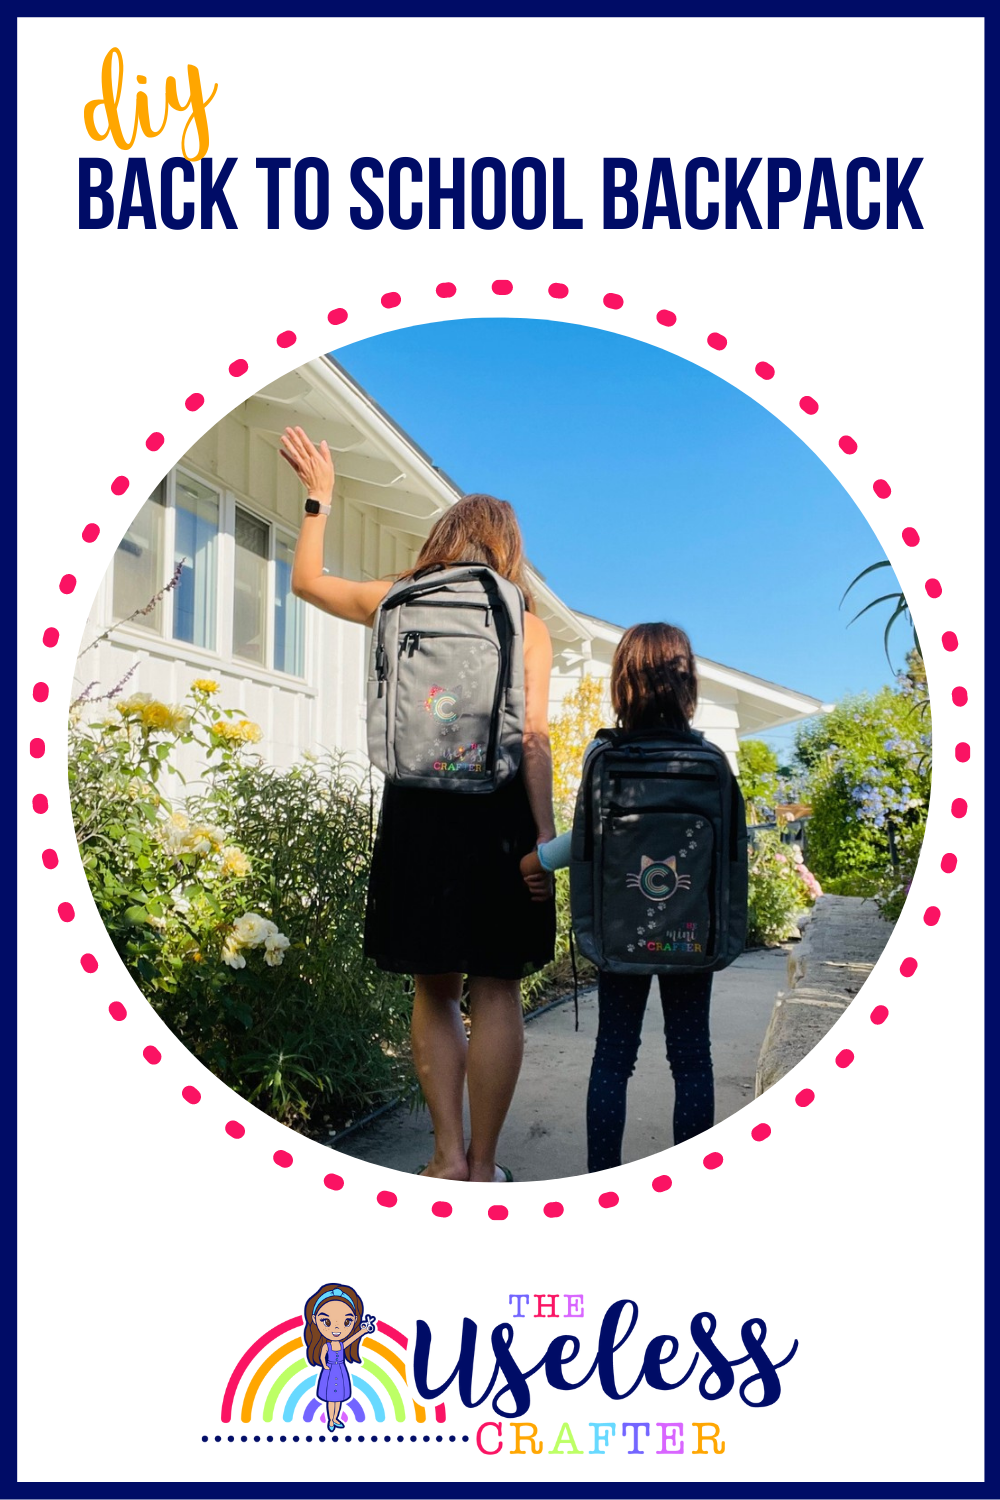
DIY BACK TO SCHOOL BACKPACK
Reflective HTV from Poli-Tape on a backpack! The paw prints… just in love … look at how it glows when light hits it at night. Not that my daughter is allowed anywhere at night lol … but you’re going to see us if we are walking on the street. 😁😁😁.Then after I went back and added so much more HTV. It’s crazy to think how much heat this backpack got. But it’s the htv from Poli-tape that allows for low heat and low press times
DIY BACK TO SCHOOL THERMOS
A perfectly layered thermos lol. You have to celebrate these wins!!!
I am really a big fan of using the registration marks in addition with covering up the majority of the design when you’re putting it down. It really makes it so much easier when you have a small exposed sticky section to maneuver around to line up. I promise it’s worth the extra steps!!!
AND let it cure!!!! This applies to both HTV and adhesive vinyl projects. Let it sit for a day or two before you wash. Personally my thermos projects for my 6 yr old sits for a week. We need all the help we can get. Lol. And they do last 🙌🏻🙌🏻🙌🏻.
CUSTOM OFF THE MAT AVATAR (and celebrating 25k followers on IG!!)
Who wore it better?! 😁😁😁😁
I hit 25k followers on Instagram this morning and am so excited!!! A big thank you to everyone following along my Useless Craft adventures for all your support !!! 💜💜💜💜.
I had so much fun with this making this custom avatar to celebrate the milestone!!!!
ALICE IN WONDERLAND CHIP BAG PARTY FAVOR
I love using Canva to get the most out of the photo paper (8.5 x 11 inches). There’s no need to use Cricut’s print then cut since the entire page is used and there’s no cutting needed.I might do these for Charlotte’s lunch when she has a big test or tryout and needs encouragement 💜💜💜. Of course they’re also great for party favors.
ALICE IN WONDERLAND CAKE TOPPER
Absolutely in love with this cake topper!!!! The hourglass spins and the confetti drops - just to die for!!!
I used the perler beads to do the hourglass shaker slider. I absolutely LOVE LOVE LOVE this. And at the end, if it's not clear, I had to add the white paper to the back to keep it from sliding backwards and hitting the cards.
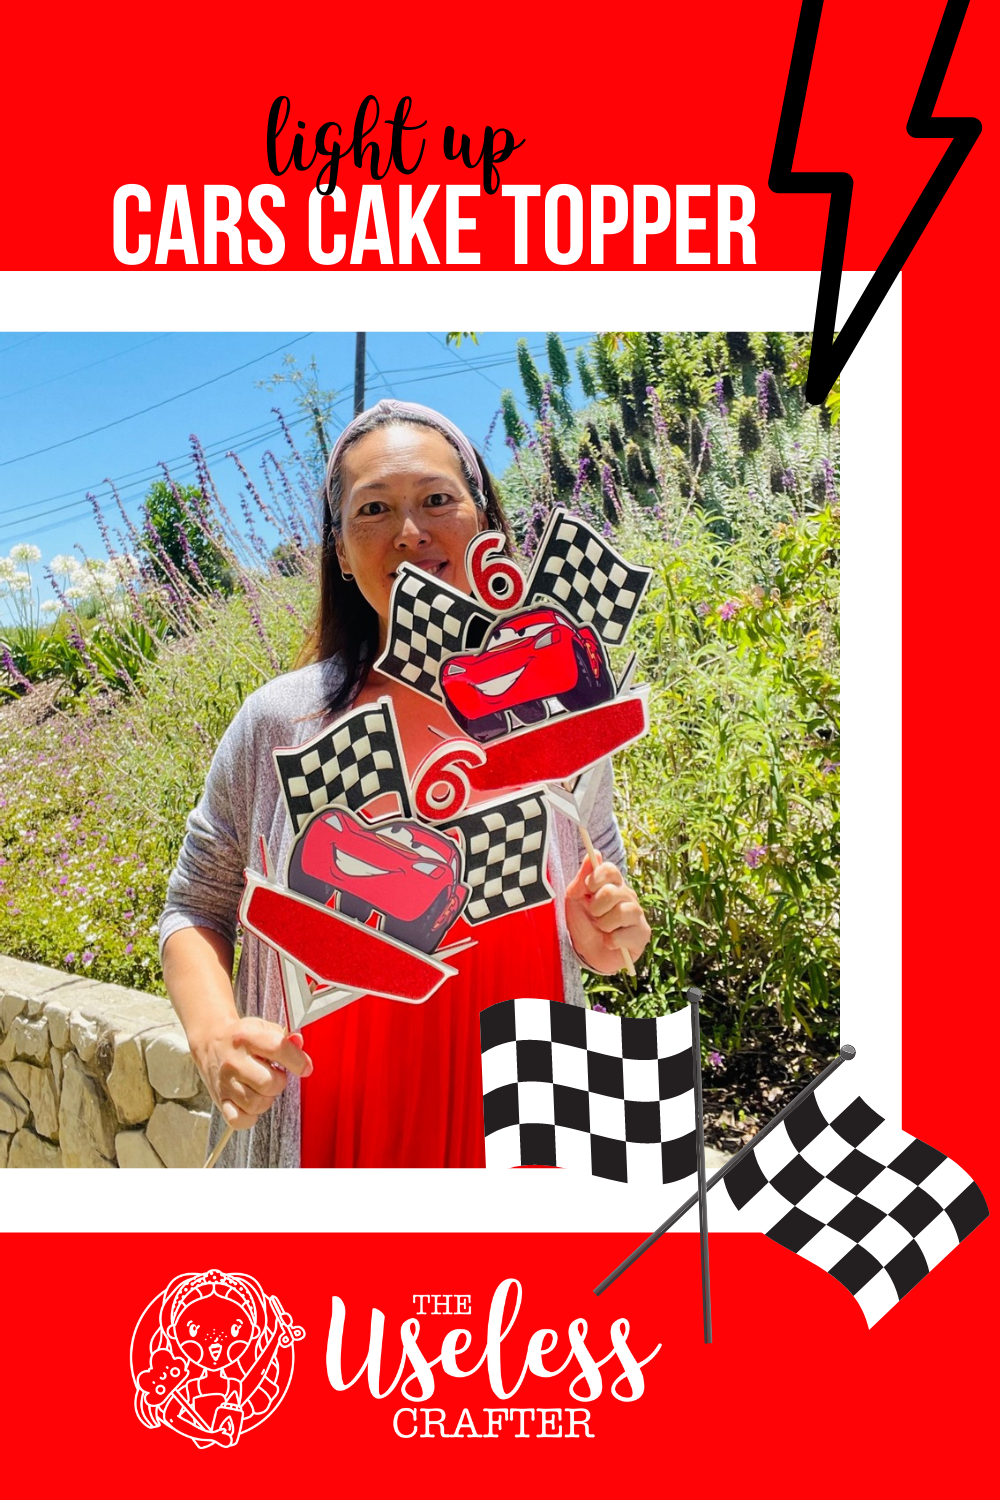
LIGHTNING MCQUEEN - CARS CAKE TOPPER
My video fail turned this into a comparison project LOL. So we have two different types of sticker paper as well as lights! There's a matte version which has this rubbery feel texture that is super cool. While the colors aren't as vibrant, I really do like the paper. This one has the multi-color lights from Amazon. Now if you're wondering why the lights aren't as bright, it's because I forgot to turn off the lights and they had been going for well over 24 hours straight. Also I have the lights behind the sticker paper.Now onto the glossy version. I used the white lights (also from Amazon) BUT this time I cut out the sticker paper where the lights are and put vellum paper. So the lights are really bright! Usually I prefer the multi lights, but the bright white lights matched his smile and it was perfect for a car.
BRIDAL SHOWER LABELS
Bridal Shower Party Favors - so easy to execute!!!!
My favorites are all in play: Canva, Creative Fabrica & Neato Labels
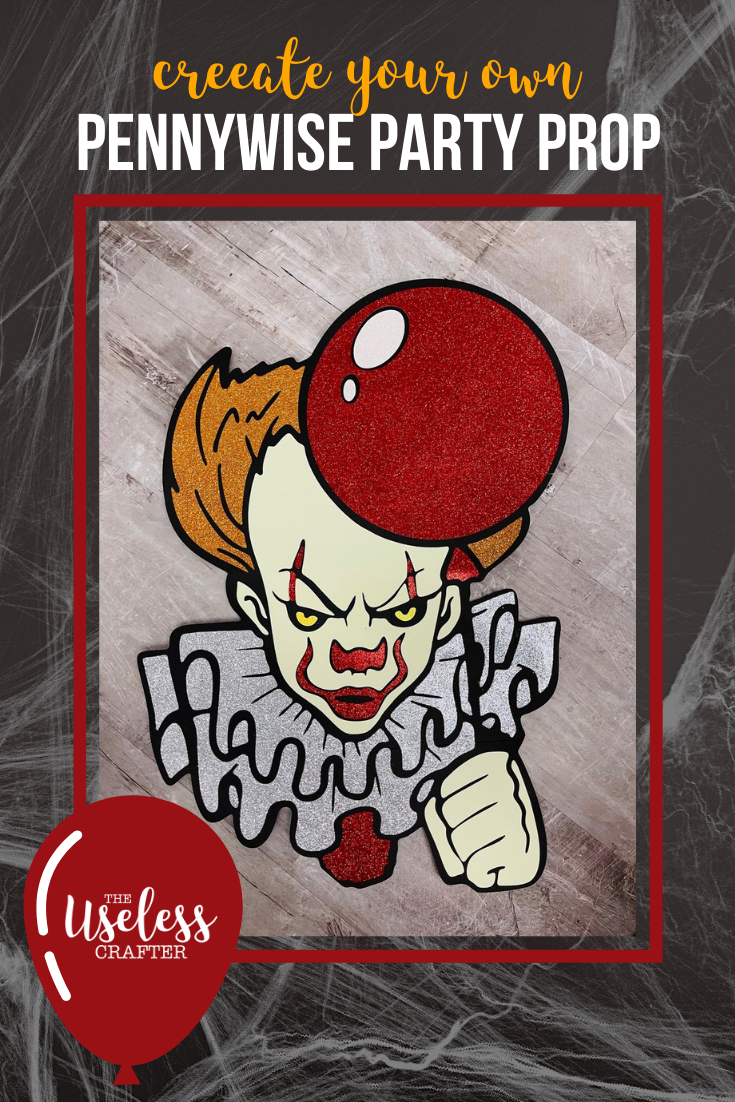
OFF THE MAT: PENNYWISE - IT
Love love love how this turned out!!! Mixing a little luminous htv with my usual glitter cardstock for this craziness 🤡🤡😱just perfection 💛💛💛
26 inches and he glows in the dark! I used the luminous htv (heat transfer vinyl from Poli-Tape) on cardstock to get a super scary effect. In love!!
Tips:
1. I like to weld pieces together to make it easier to piece together and have fewer pieces to keep track of. For example check out the collar. I added little circles to connect pieces.
2. I struggled with the htv a bit because I didn’t apply enough pressure and heat. Next time it’ll be better. But I absolutely loved the results.
CARDSTOCK 3D GLOBE MANDALA
Just my favorite mandala project - 16 layers including one of htv (cause you know I had to). Separated with foam tape when there was room, and when the layers were too thin and delicate, Bearly Art Glue glue for the win. The cardstock is just to die for from 12x12 Cardstock. So many shades of blue and green 💙💚💙💚💙💚💙.
CHIP BAG PARTY FAVORS
I’m seriously loving these chip bags. Adding matching gift cards and that’s how the end of the school year is happening - it’s a wrap!This photo paper is 🙌🏻🙌🏻🙌🏻. The colors are so vibrant. I think after doing so many, I prefer the white bars on top and bottom. Is it just me???
I love using Canva to get the most out of the photo paper (8.5 x 11 inches). There’s no need to use Cricut’s print then cut since the entire page is used and there’s no cutting needed.
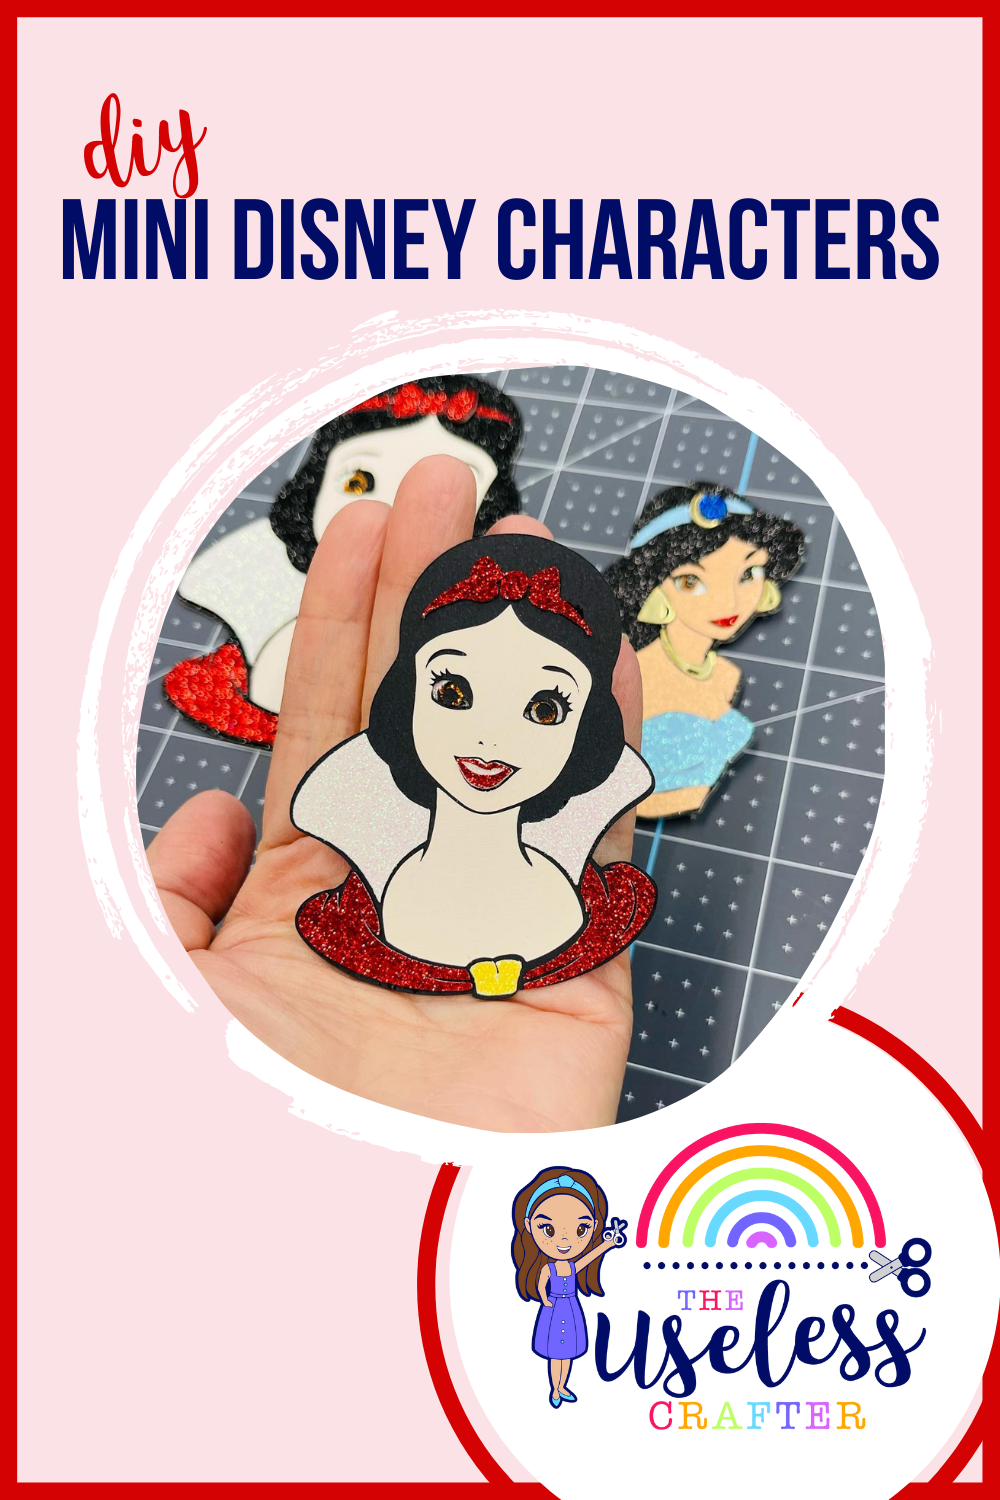
DIY MINI DISNEY CHARACTERS
These minis have me a little obsessed lol. So I revamped the process and now Snow White looks huge next to mini.
My previous life as a process designer for Bank of America keeps creeping into my crafting life LOL. We went from Snow White at 5 inches (and losing some parts of her eyes) to a better process with Jasmine at 4 inches to more process changes and landed with Snow White at 3 inches. Snow White at 3 inches has more details in her eyes than SW at 5 inches. I'm in love! Btw SW5 looks gigantic now hahaha.
OFF THE MAT: ALICE IN WONDERLAND 30”
Alice is 30 inches and pretty much seamless except for her blue skirt. I wanted to show you how I would approach it in 3 different ways.... I definitely have a favorite ... just curious if we agree which is best 😬🤪 Option 1: creating a deliberate seam. I think this would be better if I could actually design lol. So I changed the image from 2 pieces into 3 pieces. If I could design, I would have made it look more like a pleat (which is what I was going for lol).
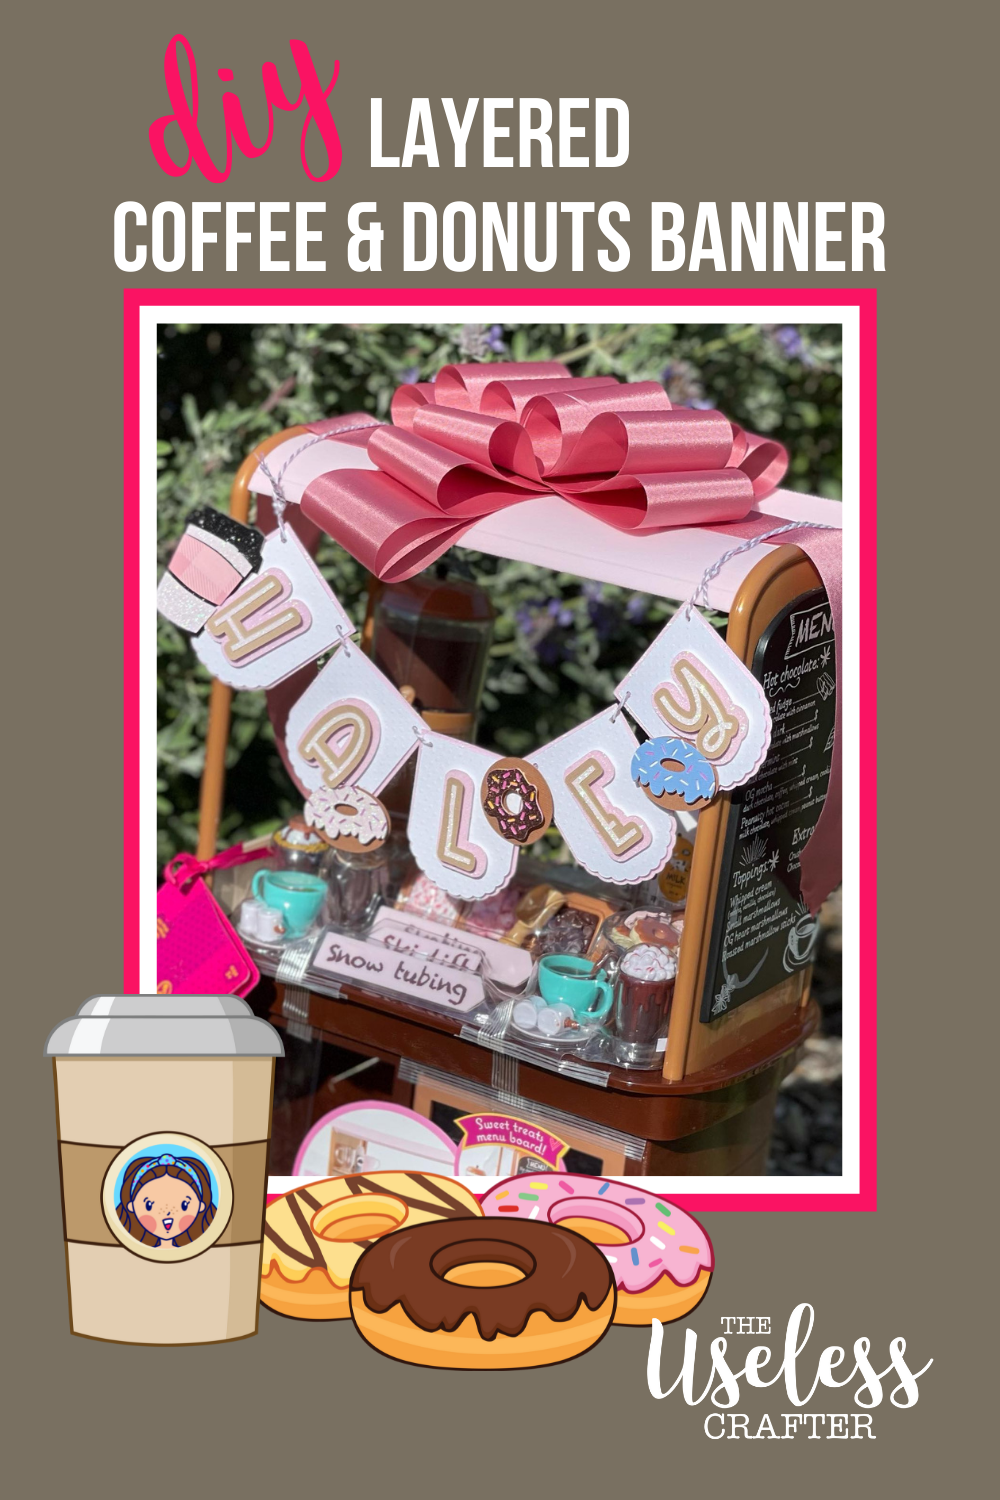
COFFEE AND DONUT SHOP BIRTHDAY BANNER
I absolutely loved this little gift!!! I know it’s April and snow tubing and hot chocolate are out, but it was too cute not to post.
Cardstock is from @12x12cardstock and I used @bearlyarts glue and foam tape (the layers makes all the difference).
The best compliment came from the sister of the birthday girl .... you give the best gifts . What do you think? Will this be a trend? I know ... it’s so over the top.
CRICUT MUG PRESS REVIEW AND FIRST PROJECTS
My first mugs using the mug press!!! Happy St. Patrick’s day everyone 🍀🍀🍀🍀🍀.
Ok so here’s my take on the mug press that I paid every cent for lol. My completely unbiased opinion....
DIY ACRYLIC WEDDING SIGN
Acrylic signs. It’s been one of my favorite projects because it’s so easy to do it flawlessly.Make sure the design is cut with adhesive vinyl or HTV/iron-on vinyl AND draw your design. The drawing will go underneath the acrylic sign and will be your guide ensuring a perfectly straight sign. When you’re not worrying about where to place the vinyl, you can concentrate on keeping the vinyl taut ... ensuring there are no bubbles. This works for big signs and small signs!!
OFF THE MAT: FRIDA
So March is Women's History Month and so I love how I stumbled upon Frida through a request from one of my followers. I have to admit that I knew very little about Frida prior to this - her unibrow, she's an artist and from Mexico. She's known for her self portraits, her love of Mexican and indigenous culture, and is a feminist icon... and I picked up a little fact that she loved her jewelry.
3D LETTER AND NUMBER SHAKERS - TUTORIAL COLLECTION (DESIGN SPACE, ASSEMBLY, RESIZING & EMBELLISHING!)
3D letters. I have been perfecting these over time and have made several versions. In this post I share all of my Design Space tutorials on setting these 3D letters and numbers up and resizing them as well as assembly.
Check out my other project posts for some specific numbers & letters I have created for parties/events/milestones.
Tips:
1️⃣- cut the dashed lines so that it’s easier to fold (as opposed to just debossing).
2️⃣- I still go back and forth on this ... but 110# paper is slightly easier to handle ... however you run the chance of the paper not cutting cleanly. And it dulls your blade faster (although good thing we can buy them super cheap on amazon haha).


